Friday, April 30, 2010

Do the salsa...

Salsa Chicken, that is...

If you need a HEALTHY, EASY, CHEAP (that's THE trifecta, right?!) this is the way to go. The even better part is that, once you make this meal and eat all the chicken, you'll likely have leftover "mix" left. When added to some GF tortilla chips, this mix makes spectacular nachos.

INGREDIENTS:

- 4-6 chicken breast halves (more if you use a larger crock pot; I can easily fit 4 really large halves in a 4 qt. crock pot)
- 1 can black beans, drained and rinsed
- 2 cups salsa (I use the mild, Hill Country Fare brand from HEB) PLEASE read labels carefully!
- 1 can corn, drained or 1 cup of frozen corn
- 1/2 onion, chopped/diced

DIRECTIONS:

- Put the chicken in the crockpot (yes...it can still be frozen!)
- Mix the other ingredients in a bowl
- Pour the mixture over the chicken

- Cover and cook on low for 6-9 hours or high for 4-5 hours (you will have to cook frozen chicken longer than thawed chicken; the chicken will be more tender if cooked on low)

We love, love, LOVE this dish. The chicken stays so moist and takes on all the flavor of the ingredients. I cut up the chicken, top with the mixture, and melt shredded cheese on top. You can eat all you can and then scoop up the rest with chips. Everyone say "YUUUUM!" As I mentioned, the leftovers make great nachos.


This recipe is adapted from the Crockpot Salsa Chicken Recipe by Stephanie O'Dea.

And my other tidbit for the day:

Wednesday, April 28, 2010

Bun in the oven...

It's NOT what you think!
They're just rolls... :-D

You know what I miss?

CRESCENT ROLLS

That's right. Those yummy "I'd-stop-eating-these-but-it's-just-not-humanly-possible" golden brown baked goodies. They're those nice, tasty, rolled-up packages of goodness. You know the ones I'm talking about...

Well...here's that...coming to you in a pretty tasty gluten free package :-)

INGREDIENTS:

- 1/2 stick butter (1/4 cup), room temperature
- 3/4 cup small curd cottage cheese (you can use regular, light, or fat free)
- 1 cup Amy's flour mix (this had GREAT flavor. I promise I'm not saying that because I'm biased...it really did)
- 1/4 tsp. xanthan gum (if you use a GF flour mix without any xanthan gum in it, use 1 tsp)
- 1/8 tsp. salt
- 1/4 tsp. cream of tartar (I'll be honest....I had to call my grandmother to ask where exactly to find this. If I hadn't, I'd still be wandering the baking aisle at H-E-B. Thanks for saving me, Nahn!)
- 1/2 tsp. baking soda
- 1 TBL sugar

DIRECTIONS:

- In a mixing bowl, combine butter and cottage cheese
- Add dry ingredients to the bowl and mix until a ball forms (I did it the simple way...just a bowl and a spoon - no mixer)

- Wrap the dough in plastic and chill for at least 2 hours
- Preheat oven to 350 degrees
- Dust counter top or parchment paper with flour
- Roll dough into 14" circle
- Cut circle into 8 triangles (use a pizza cutter - it's THE BEST)

- Roll each triangle up (just like those other crescent rolls you used to miss)
- Place the rolls on a baking sheet lined with parchment paper (unless you don't have any in the house *sheepish grin*)

- Using pastry brush (or your finger like I did!) brush the top of each roll with melted butter
- Bake for approximately 20 minutes (mine started to get a tad brown on the bottom before they were baked entirely, so I turned mine over. Sure, they weren't spectacularly pretty, but it worked! No burned bottoms!)


We added a little extra butter and ate these just "as is" with a meal of baked fish, squash, and green beans. They'd be a wonderful addition to any meal. Certainly, they aren't exactly like the crescent rolls you buy in the can at the store, but for a gluten-free, yeast-free bread option...these just can't be topped!

Stay tuned because I plan to use this recipe for apple dumplings (that I learned how to make from my mother and her Bed & Breakfast cooking), cinnamon rolls, AND pig-n-a-blankets!! CAN'T WAIT!!

Speaking of not being able to wait...Sam felt the need to point out that a bit of honey on these lil' babies would probably make a pretty good "follow-up" to the meal. We don't want to waste food, you know. We were too stuffed to try it right after the meal but now....


Friday, April 23, 2010

Soy Nut (Peanut) Butter Cup Cake

So we all remember the Chocolate River in Willy Wonka and The Chocolate Factory, right? I'll admit - I kind of wanted to be Augustus and get to take a drink of it. I know I'm not alone! So...this dessert kinda gives me that feeling - with a kick of nut butter just for fun :-)

Before I started making my own flour mix (Amy's Flour Mix), I attempted using Pamela's baking mix. I have heard WONDERFUL raves of how great the mix is; however, I stand by the statement: to each his own. In my experimental baking experience, I was not pleased with the taste or texture of other mixes, so I've been sticking with my flour mix I mentioned above. I was OOOOOH so pleasantly surprised at the great taste and texture of this recipe with the flour mix - GREAT STUFF! That being said, use whatever mix you like best - make it work for YOU :-)

This recipe is adapted from a recipe by Stephanie O'Dea: Peanut Butter Cup Cake Recipe

In her blog, Stephanie mentions: "If you like peanut butter with your chocolate, or chocolate with your peanut butter, you will love this cake." I'll go right on ahead and second that!

I am supposedly allergic to peanuts, so I used soy nut butter as a substitute. Even if you can have peanut butter, I'd like to recommend using the soy nut butter for a change. The soy nut gives it the nut butter taste without it being overpowering - it is WONDERFUL!! When Sam first tasted it, he commented on how great it was that the peanut butter taste didn't knock you over. I enlightened him by explaining the use of the soy nut butter...and we both went back to eating :-)

INGREDIENTS:

1 cup all-purpose flour
1 cup sugar (divided - 1/2 cup and 1/2 cup. This is super duper uber important so don't get all trigger happy and just start dumping it in the bowl!)
1 tsp baking powder
1/2 tsp salt
1/2 cup soy nut butter
1/2 cup white chocolate chips (EEEEEEK! I love white chocolate so I added this. It's a sickness - I just can't help myself...)
1/2 cup milk (I use fat free but whatever you have in the fridge will work!)
1 TBL canola oil
1 tsp vanilla extract
3 TBL unsweetened cocoa powder
1 cup boiling water

DIRECTIONS: I used a 4 qt. slow cooker. If you have one that is much larger, I would put a small baking dish inside the slow cooker to make this recipe

- Coat the crock pot with cooking spray
- In a mixing bowl, combine flour, 1/2 cup sugar, baking powder and salt
- In another bowl, microwave soy nut butter for approximately 30-45 seconds (until you can easily swirl it with a spoon)
- Add the soy nut butter to the dry ingredients and combine with milk, oil, vanilla, and white chocolate chips


- Spread this mixture in the bottom of the crock pot (the mix will not be pourable - it's thicker than cake batter)


- In another bowl (yet another one...) mix 1 cup of boiling water with 1/2 cup sugar and cocoa powder (like a chocolate shot for hummingbirds - so close...)


- Pour this mix evenly over the the batter in the crock pot


This is going to appear a little weird. You're thinking "Now I've got a layer of watery chocolate on top of a cake batter that doesn't even have eggs or anything like that. I knew this lady was a lil' off her rocker but....seriously?"
Yep. Seriously.
As it cooks, the cake more or less floats up to the top and you end up with a gooey goodness underneath the cake layer (think thick, non-flowing Chocolate River back at Wonka's place). Ever try the Molten Chocolate Cake at Chili's?! Welcome to your own personal, full-access pass to that happy-land! I don't want to toot my own horn but...*toot toot*...I really think this is way better :-)

The original recipe says to cover and cook on high for 2-4 hours. Keep a CLOSE eye on yours. Mine cooked in about 1 hour and 25 minutes. Cook it until a toothpick or knife can be inserted in the cake portion and come out clean. Don't push it all the way down and expect it to come out clean...it'll be a long night and you'll have to burn the molten chocolate layer to get to that point! Before you serve, let the crock pot sit, uncovered and unplugged, for about 20 minutes (this lets the chocolate firm up enough to scoop!) Just a note: this stuff is good warm OR not!

Here's where it gets serious; I added icing. DOUBLE EEEK! You can make the cake with a sweetner such as Splenda to cut down on carbohydrates and all that good stuff, so go on and splurge on the icing - it MAKES the recipe!

INGREDIENTS:

- 1 cup confectioners sugar
- 3/4 TBL butter, softened
- 1/4 tsp vanilla extract
- 1/8 tsp salt
- 1/2 TBL honey
- 3 TBL milk

DIRECTIONS:

- Combine all ingredients together and mix until smooth.

Serve this whole fantastic mess in a bowl and drizzle with the icing. It's a life-changing experience. After I tasted this, it was another moment when I was thankful to have found another way to treat myself. Occasionally, you get an overwhelming urge to eat a big cookie or chow down on some bread, but you know you can't. It's the little things in life, and being able to successfully bake a great dessert that makes even my husband stop and shake his head while uttering "Wow, honey. Now that's good..." really is an encouraging feat. Try this for a splurge for yourself...I promise it's great :-)

One promise I can make is that I'll always be honest about how the recipes turn out (and everything else, too), so here we go...
This is what happens when a recipe is just flat-out, down-right, knock your teeth outta your mouth, good:


You never get it into a bowl. It starts innocently enough - I taste test the result to make sure it's suitable for serving. Well...then Sam walks in the door and I have him taste it. SPECTACULAR. We leave the spoon in the pot and we end up taking a bite every time we walk by. Do we even drizzle the icing? NOPE. Just getcha a spoonful, dip it in the icing, and fly that airplane on home. When a recipe hits the sweet spot, it just happens :-) And really makes me feel good!

And just for a happy ending....finally made it to a bowl :-)

Thursday, April 22, 2010

Creamy Corn Enchilada Casserole

So we had plans to go out to eat with some friends, but work schedules didn't pan out so I realized at 3:00 p.m. that I didn't really have anything planned for supper. My husband had a looooong day at work, so I wanted to have something we could just sit down, relax, and enjoy. So....TAHDAH!!! A quick-cooking, easy meal that really doesn't take too much prep time. Right up my alley...

Adapted from Stephanie O'Dea's Creamy Corn and Spinach Enchiladas

I made several changes to the original:
I am apparently allergic to spinach (can't win for losing, I know...) and I made this into a casserole because if you cook corn tortillas in a crock pot with any amount of moisture for long, things tend to fall apart. I am totally okay with eating a bowl full of mess, so I conquered this one by cutting to the chase and making a casserole rather than rolling enchiladas.

INGREDIENTS:

Filling:


- 1 can creamed corn (check labels as always, but I use Green Giant)
- 1 cup already cooked meat (I have made this with ground beef and chicken, but when I made this today, all I had in the house was ground turkey! ACK! Don't worry...it turned out perfectly! So much so, that I'll likely make it with the t-bird on purpose next time)
- 1/4 cup finely chopped fresh cilantro leaves
- 2 TBL chopped jalapeno
- 4 TBL Rotel (I had some extra from making a side of cheese dip so thought "why not?!")
- 1 1/2 cup shredded cheese

Sauce:
YOU WILL HAVE EXTRA SAUCE. DO NOT use all of it, or we'll have a runny, mucky mess on our hands. And who wants a runny, mucky mess?!

- 1 can enchilada sauce (original recipe calls for green enchilada sauce but this is my warning - READ LABELS! After 10 minutes of standing in the aisle at HEB, I realized that none (of the 6 brands of green sauce) were GF. I know you can find it at some specialty stores, etc., but I'll tell you that the red sauce works just great!! Am pretty sure I wouldn't make it with green sauce now even if I could easily find it...ya know...just to spite it! *sticks tongue out*)
- 2/3 cup sour cream

- Corn tortillas
- more cheese (everything is better with cheese on it...so we're gonna put some cheese on it!)

DIRECTIONS:
I use a 4 qt. crockpot, so number of tortillas and number of layers can be adjusted if using larger pot

Cook or brown your meat (depending on what you decide to use). I did this while I got everything else together! That's right...that's for all you multi-taskers out there)
I cooked the ground turkey with 1/2 onion and some Lawry's seasoned salt.


In large bowl, combine meat, creamed corn, cilantro, jalapeno, Rotel, and cheese.


Does it look a little nasty? Perhaps...but the taste later makes up for it. Promise.

In another mixing bowl, combine enchilada sauce and sour cream.


Spray bottom of crock pot.
Lay two corn tortillas on bottom of pot.
Spread 1/3 of filling mix over tortillas.
Sprinkle a layer of shredded cheese on top.
Using a spoon, drizzle approximately 1/2 cup of sauce across the top of the layer.


REPEAT until filling mix is gone.

Just for kicks (and because we're cheese fanatics) I add an extra sprinkling of cheese on top of the final layer (or, on the final layer, put the sauce down on top of the filling before adding the cheese).

Cover and cook on high 2-4 hours (I called my time at 3 hours), or on low for 5-7. According to Stephanie, she cooked hers for 8 and it got way too mushy. I'd shoot for the minimum time (for both high and low settings). Since all the ingredients in this meal are pre-cooked, you're really just waiting for the corn tortillas to soften a bit and for all the flavors to mesh.

I serve mine with a handful of tortilla chips crunched up on top - never hurts to have a little crunch, right?! I figure since you have to chew the chips more than you would if it were just the casserole, you're really just burning more calories :-)


It's okay...I know you noticed. Yes, I already started eating (this happens when you get excited) and forgot to take a picture. So...clearly the pictures don't do it justice. Would it help if I hadn't included the pictures? Either way...

Turns out, this is a great dish. We both cleaned our plates...twice.

Tuesday, April 20, 2010

Chocolate fans, listen up!

Alright folks....this is worth hearing about. So put everything else down and listen up (pick up a pen and paper, too) and write this down....

Namaste Foods Gluten Free Brownie Mix


I would write it again to reiterate the importance, but just know that I spoke it again, directly to you, as I typed this.

My birthday was last week (*HAPPY BIRFDAY TOOOOOO MEEEEEEEEEEEE!*), and a good friend of mine, Megan, brought me some GF goodies as a gift. I was sooooo humbled and couldn't believe how thoughtful she was!! Sam was coming home on Sunday from two weeks out in the field and I wanted to have a little extra for us to share, so I started cabinet shopping. One of the treasures Megan gave me was this brownie mix. (I took a picture for you...let it burn into your brain so you'll be sure to know it when you see it). GF baking can be a shot in the dark on the first go-around with any recipe/mix so, I had my fingers crossed (and made them early enough in the day that I could dash to the store for something reliable if need be!)


Back when I was still on the gluten train, I pretty much refused to eat cakey brownies (alright...refuse is a strong word and, let's face it...chocolate is chocolate...but....) My absolute favorite are more fudge-like: soft and even a little gooey. So, yes, some of that comes from baking time, heat of oven, making sure you measure the water correctly and all those bits and pieces, but you can't overcome the barrier of a recipe or mix that just gives you cakey brownies!

Since having to bail off that gluten train 7 months ago, I pretty much had to forego being all that judgmental because it's harder to find a brownie mix that tastes exactly the way it should. I am not a picky eater by any stretch of the imagination, but when you can still remember what a brownie ACTUALLY tastes like, it's hard to be head over heels for anything less.

Namaste Foods GF Brownie Mix (write it down again) *Enter stage left*

By pure luck, Megan happened to pick this mix off the shelf, and I am forever thankful she did!
The important thing here is just to follow the directions on the bag to the letter, and everything should turn out just right!

Alright...if you got lost in all my raving above, listen up again because this is saying something:
These brownies taste EXACTLY like good ol' glutened-up brownies. PHENOMENAL.
Now, you put any ol' brownie in a bowl full of Blue Bell homemade vanilla icecream and you have bits of heaven right there on your spoon. Same is true here, but these are still mmmm-azing all by themselves.

I made only one minor change to the mix:

I added a few dashes of cinnamon (that's my mom's fault...we're all into the cinnamon thang...)

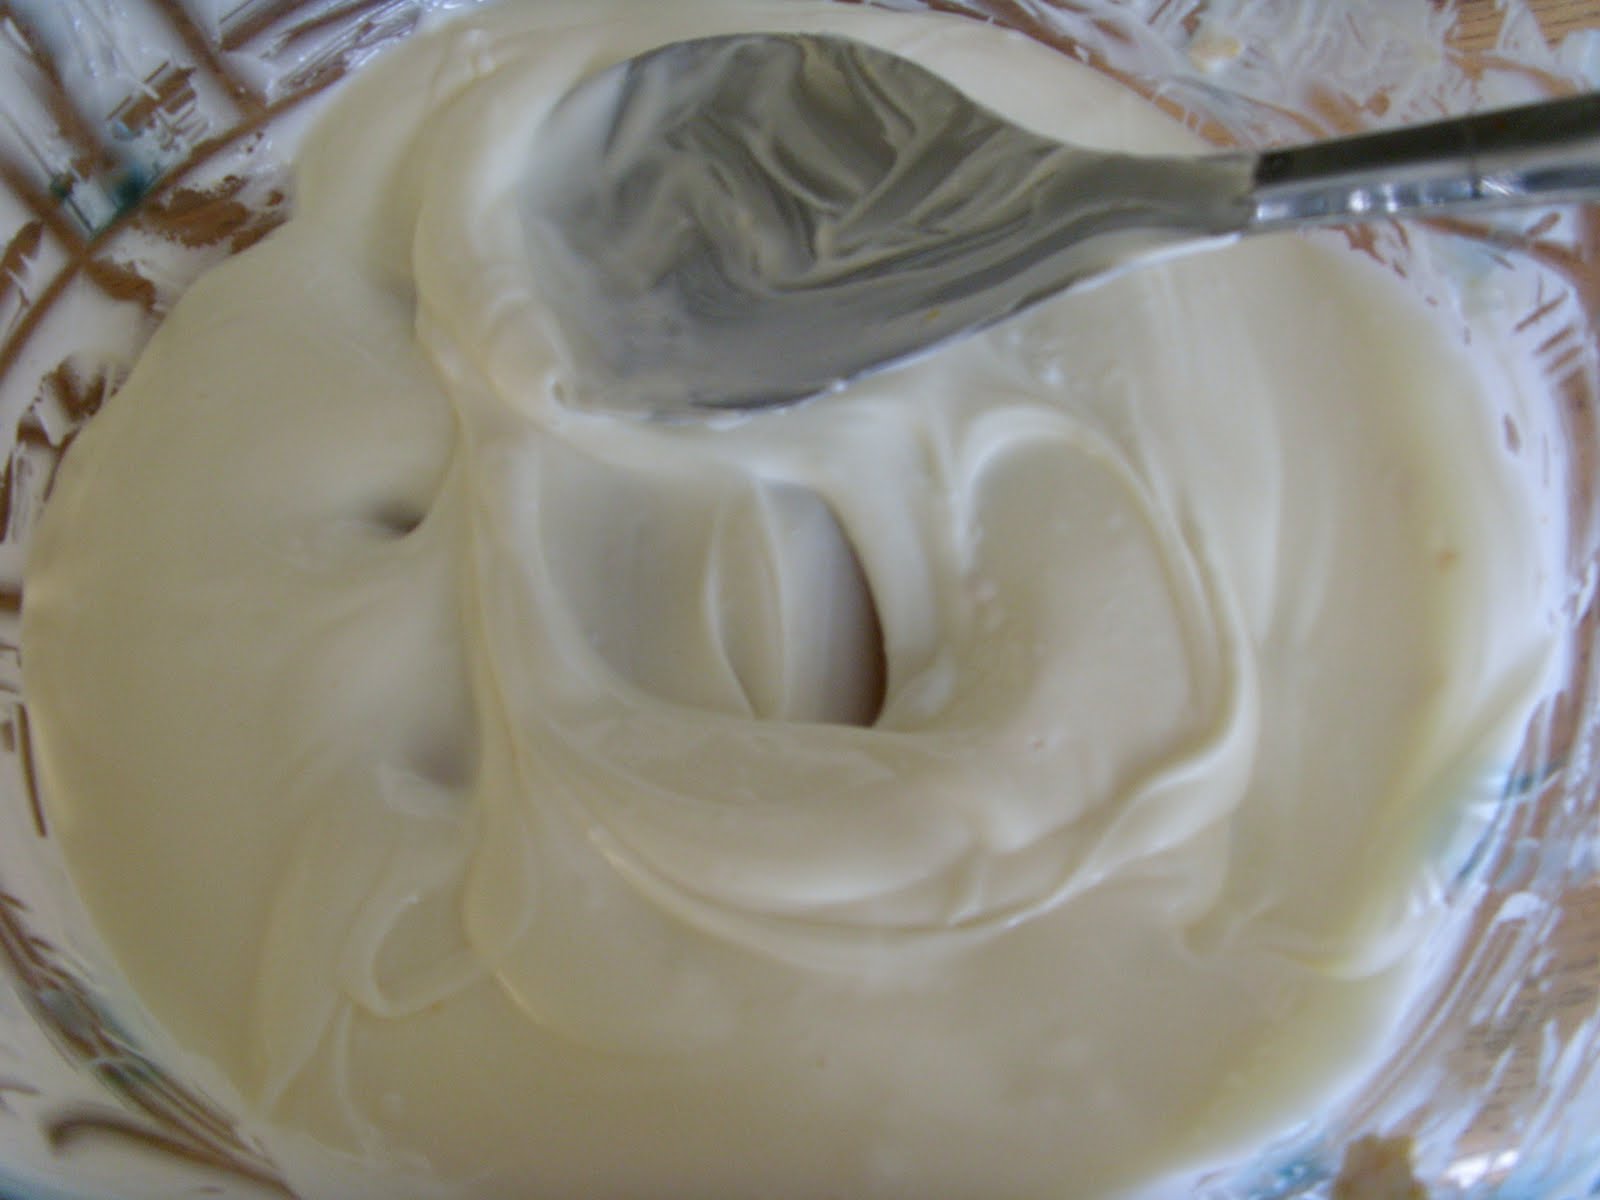
After I placed the pan in the oven, I was a bit worried about the final product (oh ye of little faith, I know...) so I decided to make icing to top them off. Gotta say...hard to make something this good much better, but the brownies are great with this addition, too.

INGREDIENTS:

3 TBL butter, softened (do the real thing...go on...)
1 TBL honey (this is the real kicker - so good!)
1 tsp vanilla extract
1 cup confectioners sugar
Optional: 3 TBL unsweetened cocoa powder (I didn't go this route because am a fan of vanilla icing, but I know it would be great. Oh...and I didn't have any cocoa)

DIRECTIONS:

- Combine all the ingredients (brilliant, I know!)
- Frost brownies while they are still warm (I know what you're thinking: "No! You ALWAYS wait until things have cooled to frost them. I don't want a gooey mess!" But believe me...this time you don't wait. Not only does it help this amount of frosting cover the whole pan, but it creates the perfect icing layer and cools just right. Don't wait! Jump in!)

I only frosted half of the brownies so we could try both versions. BOTH ARE GREAT.


So let me explain...the edges are pretty roughed up in this picture. That COULD possibly-maybe-almost-sorta-pretty-much be the fault of ME who, wanting to get the dishes washed, pulled them out of the pan too early. That COULD also be the fault of ME because I kept pinching off the edges as I took them out of the pan. I am NOT taking responsibility...just sayin...

NOTE:
The real trick is this:
When you're ready to cut the brownies, use a plain ol' cheap plastic knife (the brownies won't stick to the knife and pull). Of course, I did not have a plastic knife at home and wouldn't dream of waiting until I did to cut these. So..."do as I say, not as I do"

I know there are wonderful GF recipes out there for spectacular brownies, but I wanted to share this great find with you, because sometimes you just need life to be a little more simple! I am absolutely making these for the next family function and probably won't tell that I made them - I bet no one will know! :-) Sneaky, sneaky (alright...except for the family members that read this...)

Sunday, April 4, 2010

Shhhhhhhhh....


Ingredients:

- White baking chocolate (you'll have to do label reading to make sure the kind you get is GF, but I use the HEB brand)
- GF Chex cereal (or any other sort of GF cereal. I also use GF Glutino pretzels, and let me tell you..(as my mother says) it'll make you want to slap your grandma (twice, if I do say so myself!) We served the white chocolate covered pretzels at our one year anniversary wedding vow ceremony and they were a HUGE hit!)
OPTIONAL: add in some marshmallows - or whatever else you can think of!

NOTE: Our absolute FAAAAAAAAAAAVORITE is the Honey Nut Chex. Something about the honey nut and the white chocolate just takes the cake...can't beat it. However, for this batch I also used the Cinnamon Chex. I have made it using the chocolate version, too. AAAAAALL delectable. There's also a Strawberry Chex that is great, but is really hard to find unless you're in a big city. Because of that, I have yet to make this candy with it, but I bet it's awesome!


If you're shocked that I'm making such a big deal out of some candy that only has a measly two ingredients, it's only because you haven't tried it yet. Don't worry...I'll forgive you for doubting me.

Directions:

- Melt the baking chocolate in a big, microwave safe bowl until it is entirely smooth (according to directions on package).


- Pour in the cereal. (Don't add too much at first, because then you'll have to go get more chocolate, and since you can't just waste what you've made, you'll have to take the bowl with you to the store and eat it on the way, when you get back in the car, and the whole way home. Ya can't waste perfectly good food because of a simple mistake....)


- Gently mix the chocolate with the cereal.


- If there is still a lot of extra chocolate floating around unattached, add in some extra cereal (don't want anyone getting lonely!)
- Place some wax paper on a table/countertop
- Place clumps of the mixture on the wax paper and leave it to cool (I would tell you that this will take about _____ minutes, but I'd rather you have an excuse to keep walking by the table and grabbing a piece to see if it's cooled yet. I'm here for YOU)


- While you're waiting for the candy to cool, lick the spoon....bowl...counter where you laid the spoon...whatever.
- Once they're cooled, place in a container or ziploc bag (or don't, and just eat them all right there!)

Alright...go forth and share the yummy goodness with everyone you know (just don't tell anybody!)
What?!?

Friday, April 2, 2010

Banana Pudding!!


Well Sam and his cousin are off picking up a couch for our living room (YAAAAAAAAAY for having a place for visitors to sit and sleep!! FINALLY!). I figured this would be a small treat (with BlueBell homemade vanilla icecream, of course!) for after supper tonight. Well...I thought it sounded like a good excuse at least...
I have always been a big fan of banana pudding (that's my dad's fault, I think), but I was afraid it wouldn't be the same without Nilla Wafers...and that would just be tragic. But, believe it or not, we're pleasantly surprised at what a great job the Mi-del GF Arrowroot Animal Crackers do as a replacement. Try it for yourself :-)
To be honest, I was pretty near heartbroken when I realized I would no longer be able to delight in the greatness of BlueBell Banana Pudding icecream (if you don't have Celiac Disease...stop reading this and go buy some...I'll be here when you get back). It does, though, feel good to say that this is an AWESOME way to indulge that banana pudding craving (don't lie...you know you have them too...I'm not the only one...)

INGREDIENTS:

1 heaping TBL GF flour mix (and I mean heaping!)
1/2 cup sugar (it's okay...you can put a lil' more...go on)
2 cups milk (I use whole milk for this particular recipe even though I usually have skim)
2 eggs
1 TBL butter
1/4 tsp vanilla (if you put too much it will start to have a chocolate taste)
GF animal crackers
Bananas (2-3 depending on how many you decide you want)

DIRECTIONS:

- Mix flour and sugar in a saucepan
- Add eggs and mix well


- Turn on the burner (I keep mine on Medium heat)
- Slowly add in the milk a little at a time and continue stirring constantly


- Continue stirring until the mixture thickens (do this until it is the consistency you want. It will boil before it gets thick enough so don't forget to keep stirring! I stirred with a whisk the entire time but used a spoon here to try and show the consistency? Futile effort??)


- After it thickens, add butter and vanilla to taste (I recommend 1 TBL butter and 1/4 tsp vanilla, but add to your heart's desire)

- Layer animal crackers and banana slices in a dish or just throw it all in a bowl (I use an 8X8 Pyrex baking dish)


- Pour the pudding mixture on top of the animal crackers and banana slices


- Crumble extra animal crackers on top


- Place in refrigerator until cold (generally several hours or even over night)