Showing posts with label crockpot. Show all posts

Friday, April 30, 2010

Do the salsa...

Salsa Chicken, that is...

If you need a HEALTHY, EASY, CHEAP (that's THE trifecta, right?!) this is the way to go. The even better part is that, once you make this meal and eat all the chicken, you'll likely have leftover "mix" left. When added to some GF tortilla chips, this mix makes spectacular nachos.

INGREDIENTS:

- 4-6 chicken breast halves (more if you use a larger crock pot; I can easily fit 4 really large halves in a 4 qt. crock pot)
- 1 can black beans, drained and rinsed
- 2 cups salsa (I use the mild, Hill Country Fare brand from HEB) PLEASE read labels carefully!
- 1 can corn, drained or 1 cup of frozen corn
- 1/2 onion, chopped/diced

DIRECTIONS:

- Put the chicken in the crockpot (yes...it can still be frozen!)
- Mix the other ingredients in a bowl
- Pour the mixture over the chicken

- Cover and cook on low for 6-9 hours or high for 4-5 hours (you will have to cook frozen chicken longer than thawed chicken; the chicken will be more tender if cooked on low)

We love, love, LOVE this dish. The chicken stays so moist and takes on all the flavor of the ingredients. I cut up the chicken, top with the mixture, and melt shredded cheese on top. You can eat all you can and then scoop up the rest with chips. Everyone say "YUUUUM!" As I mentioned, the leftovers make great nachos.


This recipe is adapted from the Crockpot Salsa Chicken Recipe by Stephanie O'Dea.

And my other tidbit for the day:

Friday, April 23, 2010

Soy Nut (Peanut) Butter Cup Cake

So we all remember the Chocolate River in Willy Wonka and The Chocolate Factory, right? I'll admit - I kind of wanted to be Augustus and get to take a drink of it. I know I'm not alone! So...this dessert kinda gives me that feeling - with a kick of nut butter just for fun :-)

Before I started making my own flour mix (Amy's Flour Mix), I attempted using Pamela's baking mix. I have heard WONDERFUL raves of how great the mix is; however, I stand by the statement: to each his own. In my experimental baking experience, I was not pleased with the taste or texture of other mixes, so I've been sticking with my flour mix I mentioned above. I was OOOOOH so pleasantly surprised at the great taste and texture of this recipe with the flour mix - GREAT STUFF! That being said, use whatever mix you like best - make it work for YOU :-)

This recipe is adapted from a recipe by Stephanie O'Dea: Peanut Butter Cup Cake Recipe

In her blog, Stephanie mentions: "If you like peanut butter with your chocolate, or chocolate with your peanut butter, you will love this cake." I'll go right on ahead and second that!

I am supposedly allergic to peanuts, so I used soy nut butter as a substitute. Even if you can have peanut butter, I'd like to recommend using the soy nut butter for a change. The soy nut gives it the nut butter taste without it being overpowering - it is WONDERFUL!! When Sam first tasted it, he commented on how great it was that the peanut butter taste didn't knock you over. I enlightened him by explaining the use of the soy nut butter...and we both went back to eating :-)

INGREDIENTS:

1 cup all-purpose flour
1 cup sugar (divided - 1/2 cup and 1/2 cup. This is super duper uber important so don't get all trigger happy and just start dumping it in the bowl!)
1 tsp baking powder
1/2 tsp salt
1/2 cup soy nut butter
1/2 cup white chocolate chips (EEEEEEK! I love white chocolate so I added this. It's a sickness - I just can't help myself...)
1/2 cup milk (I use fat free but whatever you have in the fridge will work!)
1 TBL canola oil
1 tsp vanilla extract
3 TBL unsweetened cocoa powder
1 cup boiling water

DIRECTIONS: I used a 4 qt. slow cooker. If you have one that is much larger, I would put a small baking dish inside the slow cooker to make this recipe

- Coat the crock pot with cooking spray
- In a mixing bowl, combine flour, 1/2 cup sugar, baking powder and salt
- In another bowl, microwave soy nut butter for approximately 30-45 seconds (until you can easily swirl it with a spoon)
- Add the soy nut butter to the dry ingredients and combine with milk, oil, vanilla, and white chocolate chips


- Spread this mixture in the bottom of the crock pot (the mix will not be pourable - it's thicker than cake batter)


- In another bowl (yet another one...) mix 1 cup of boiling water with 1/2 cup sugar and cocoa powder (like a chocolate shot for hummingbirds - so close...)


- Pour this mix evenly over the the batter in the crock pot


This is going to appear a little weird. You're thinking "Now I've got a layer of watery chocolate on top of a cake batter that doesn't even have eggs or anything like that. I knew this lady was a lil' off her rocker but....seriously?"
Yep. Seriously.
As it cooks, the cake more or less floats up to the top and you end up with a gooey goodness underneath the cake layer (think thick, non-flowing Chocolate River back at Wonka's place). Ever try the Molten Chocolate Cake at Chili's?! Welcome to your own personal, full-access pass to that happy-land! I don't want to toot my own horn but...*toot toot*...I really think this is way better :-)

The original recipe says to cover and cook on high for 2-4 hours. Keep a CLOSE eye on yours. Mine cooked in about 1 hour and 25 minutes. Cook it until a toothpick or knife can be inserted in the cake portion and come out clean. Don't push it all the way down and expect it to come out clean...it'll be a long night and you'll have to burn the molten chocolate layer to get to that point! Before you serve, let the crock pot sit, uncovered and unplugged, for about 20 minutes (this lets the chocolate firm up enough to scoop!) Just a note: this stuff is good warm OR not!

Here's where it gets serious; I added icing. DOUBLE EEEK! You can make the cake with a sweetner such as Splenda to cut down on carbohydrates and all that good stuff, so go on and splurge on the icing - it MAKES the recipe!

INGREDIENTS:

- 1 cup confectioners sugar
- 3/4 TBL butter, softened
- 1/4 tsp vanilla extract
- 1/8 tsp salt
- 1/2 TBL honey
- 3 TBL milk

DIRECTIONS:

- Combine all ingredients together and mix until smooth.

Serve this whole fantastic mess in a bowl and drizzle with the icing. It's a life-changing experience. After I tasted this, it was another moment when I was thankful to have found another way to treat myself. Occasionally, you get an overwhelming urge to eat a big cookie or chow down on some bread, but you know you can't. It's the little things in life, and being able to successfully bake a great dessert that makes even my husband stop and shake his head while uttering "Wow, honey. Now that's good..." really is an encouraging feat. Try this for a splurge for yourself...I promise it's great :-)

One promise I can make is that I'll always be honest about how the recipes turn out (and everything else, too), so here we go...
This is what happens when a recipe is just flat-out, down-right, knock your teeth outta your mouth, good:


You never get it into a bowl. It starts innocently enough - I taste test the result to make sure it's suitable for serving. Well...then Sam walks in the door and I have him taste it. SPECTACULAR. We leave the spoon in the pot and we end up taking a bite every time we walk by. Do we even drizzle the icing? NOPE. Just getcha a spoonful, dip it in the icing, and fly that airplane on home. When a recipe hits the sweet spot, it just happens :-) And really makes me feel good!

And just for a happy ending....finally made it to a bowl :-)

Thursday, April 22, 2010

Creamy Corn Enchilada Casserole

So we had plans to go out to eat with some friends, but work schedules didn't pan out so I realized at 3:00 p.m. that I didn't really have anything planned for supper. My husband had a looooong day at work, so I wanted to have something we could just sit down, relax, and enjoy. So....TAHDAH!!! A quick-cooking, easy meal that really doesn't take too much prep time. Right up my alley...

Adapted from Stephanie O'Dea's Creamy Corn and Spinach Enchiladas

I made several changes to the original:
I am apparently allergic to spinach (can't win for losing, I know...) and I made this into a casserole because if you cook corn tortillas in a crock pot with any amount of moisture for long, things tend to fall apart. I am totally okay with eating a bowl full of mess, so I conquered this one by cutting to the chase and making a casserole rather than rolling enchiladas.

INGREDIENTS:

Filling:


- 1 can creamed corn (check labels as always, but I use Green Giant)
- 1 cup already cooked meat (I have made this with ground beef and chicken, but when I made this today, all I had in the house was ground turkey! ACK! Don't worry...it turned out perfectly! So much so, that I'll likely make it with the t-bird on purpose next time)
- 1/4 cup finely chopped fresh cilantro leaves
- 2 TBL chopped jalapeno
- 4 TBL Rotel (I had some extra from making a side of cheese dip so thought "why not?!")
- 1 1/2 cup shredded cheese

Sauce:
YOU WILL HAVE EXTRA SAUCE. DO NOT use all of it, or we'll have a runny, mucky mess on our hands. And who wants a runny, mucky mess?!

- 1 can enchilada sauce (original recipe calls for green enchilada sauce but this is my warning - READ LABELS! After 10 minutes of standing in the aisle at HEB, I realized that none (of the 6 brands of green sauce) were GF. I know you can find it at some specialty stores, etc., but I'll tell you that the red sauce works just great!! Am pretty sure I wouldn't make it with green sauce now even if I could easily find it...ya know...just to spite it! *sticks tongue out*)
- 2/3 cup sour cream

- Corn tortillas
- more cheese (everything is better with cheese on it...so we're gonna put some cheese on it!)

DIRECTIONS:
I use a 4 qt. crockpot, so number of tortillas and number of layers can be adjusted if using larger pot

Cook or brown your meat (depending on what you decide to use). I did this while I got everything else together! That's right...that's for all you multi-taskers out there)
I cooked the ground turkey with 1/2 onion and some Lawry's seasoned salt.


In large bowl, combine meat, creamed corn, cilantro, jalapeno, Rotel, and cheese.


Does it look a little nasty? Perhaps...but the taste later makes up for it. Promise.

In another mixing bowl, combine enchilada sauce and sour cream.


Spray bottom of crock pot.
Lay two corn tortillas on bottom of pot.
Spread 1/3 of filling mix over tortillas.
Sprinkle a layer of shredded cheese on top.
Using a spoon, drizzle approximately 1/2 cup of sauce across the top of the layer.


REPEAT until filling mix is gone.

Just for kicks (and because we're cheese fanatics) I add an extra sprinkling of cheese on top of the final layer (or, on the final layer, put the sauce down on top of the filling before adding the cheese).

Cover and cook on high 2-4 hours (I called my time at 3 hours), or on low for 5-7. According to Stephanie, she cooked hers for 8 and it got way too mushy. I'd shoot for the minimum time (for both high and low settings). Since all the ingredients in this meal are pre-cooked, you're really just waiting for the corn tortillas to soften a bit and for all the flavors to mesh.

I serve mine with a handful of tortilla chips crunched up on top - never hurts to have a little crunch, right?! I figure since you have to chew the chips more than you would if it were just the casserole, you're really just burning more calories :-)


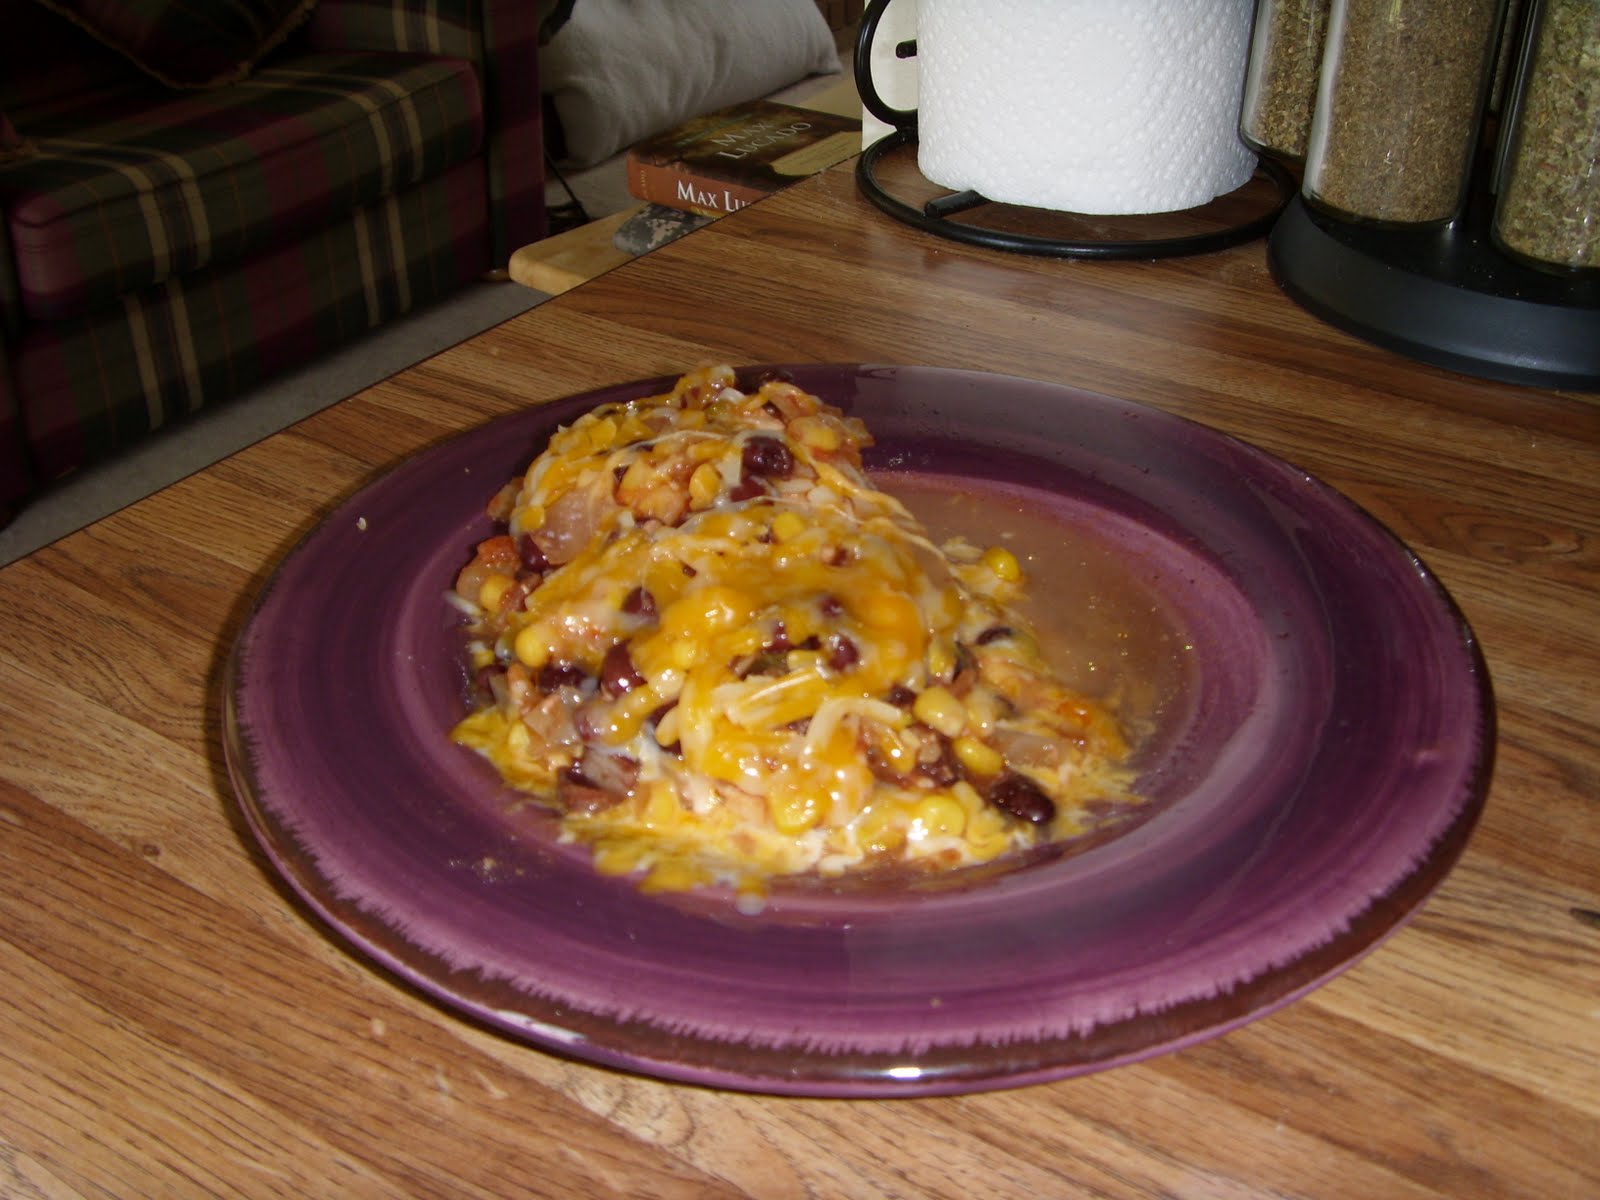
It's okay...I know you noticed. Yes, I already started eating (this happens when you get excited) and forgot to take a picture. So...clearly the pictures don't do it justice. Would it help if I hadn't included the pictures? Either way...

Turns out, this is a great dish. We both cleaned our plates...twice.